Ducati Hyperstrada - panniers hard to remove
So I collected my lovely new Hyperstrada on the 13th June 2013 and when I got home I could not remove the left pannier, I just could not get it off the bike!
I left it until the first service a few weeks later. Although the service engineer managed to get the pannier off and at the workshop and I managed to recreate removing the pannier it was still incredibly hard, almost brutal. After a couple of days I decided to remove the panniers for a short run and I could not remove the left-hand pannier again.
At this point I was a little angry because this is an £11,000 motorcycle, however I read on the Hyperstrada Forum that someone had had this issue and solved it by greasing the moving parts in the lock. Armed with this information I decided to have a go myself, and after doing so both panniers come off with a sharp but relatively gentle tug which in my view should have been the case when I purchased the bike.
 UPDATE March 2014. Panniers still come off fine but in a car park last week I clipped a post at walking page and was shocked to find the left panier mount broke and the pannier actually became detached. I didn't hit it very hard but it completely broke the mounting, see right iamge, click on it for a large version. The pannier did clip back on as the 4 bolts held it together. Today I am fixing it by using Araldite to mend the break. You can see the damage if you compare this to the picture at the bottom of this article.
So here's how you do it. I've got some pictures at the bottom.
- Open the pannier and unzip the inner lining on the part of the pannier closest to the motorcycle. This is done with a small black slip that runs from the bottom of the pannier all the way round. At this point I noticed there was a little pouch that looks like it's specifically designed to store the padlock in, very nice.
- Removing the lining reveals bolts with an allen key head which you are going to remove for just the mounting the lock is located on. This is easier with the pannier off the bike however for my left pannier I had to do it with the pannier on the bike which wasn't hard.
- The nuts on the back are nylock and although retained in a hexagonal hole they will fall out of their own accord so ensure that you catch them before they fall. Remove the four bolts and pulled the black plastic lock housing off the side of the pannier.
- Put the lock housing on a bench and undo the five Philips screws on the rear ensuring that they are stored safely before proceeding.
- Use a very small screwdriver or a small pointed item to lever the back off the housing to reveal the mechanism components.
- I took a photograph at this point to make sure that I could put back the components in the right location.
- Take each component out carefully ensuring that you do not lose the springs and apply grease in restrained quantities. I used Marine grease but use what you have in your workshop.
- When you have greased the components reassemble and put back on the pannier then reattached to the bike.
- Unlock the pannier and remove with gentle force by pulling on the handle and hey presto we have the pannier removal system as I'm sure it was intended.
- Below are the pictures that I took during this very simple process which I completed in 5 min for each pannier.
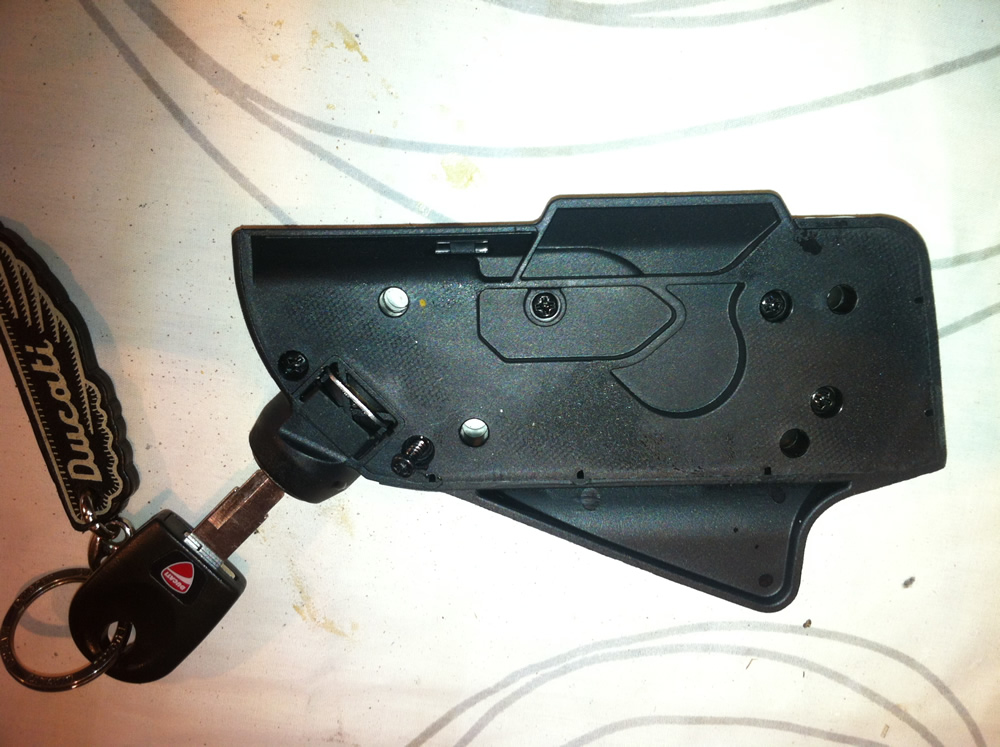
this is how the mechanism case looks after it's been removed from the pannier. In this picture one screw is undone and the other four are still in place.
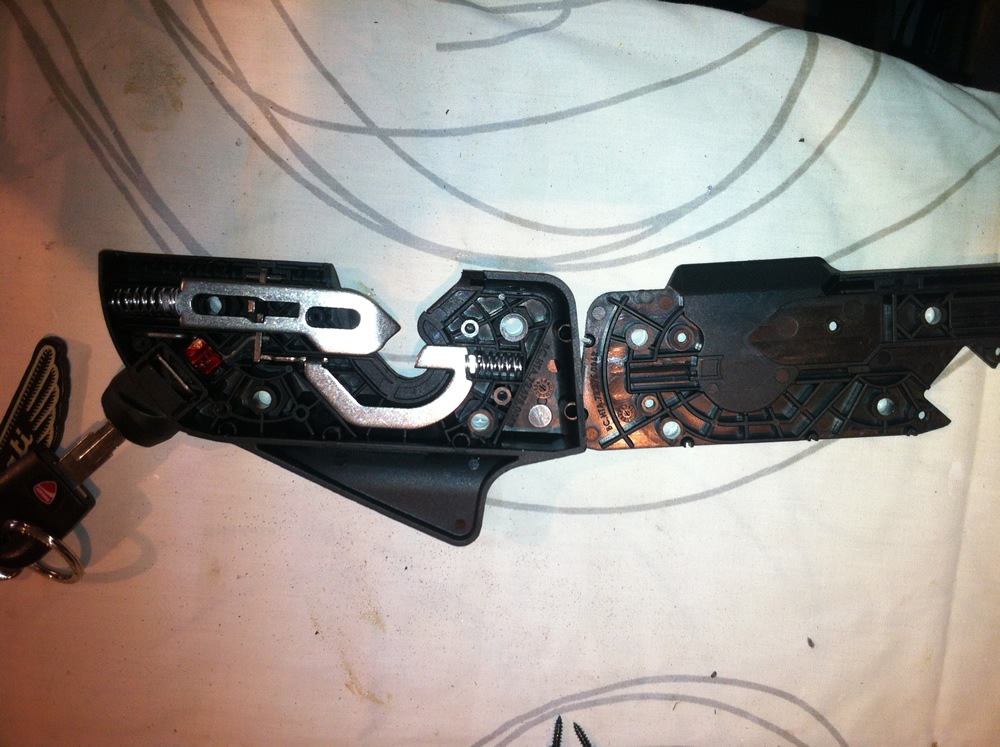
this is a picture of the back just after it's been removed, this is a very simple job. you can see that there's a small amount of red grease this is applied to the lock barrel on the left but no grease on the rest of the mechanism.
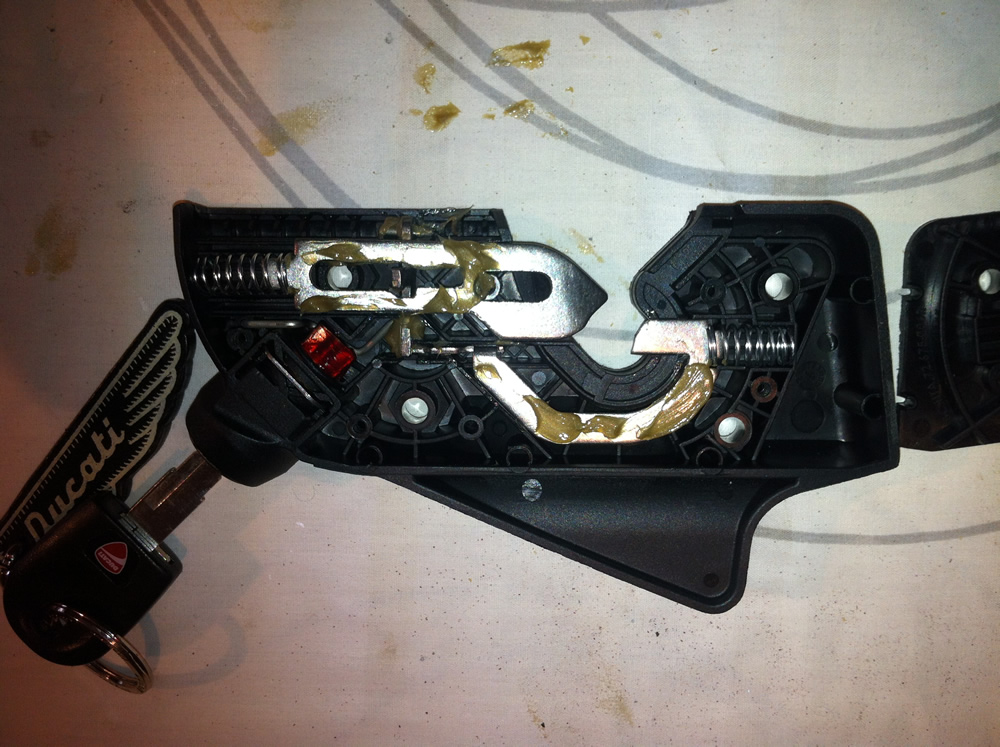
here you can see I've put a small amount of grease on the working parts. I did remove each part and grease the underside as well. After this all you have to do is reassemble the case and put it back on the bike.